This no bake cheesecake tart with berries is the perfect dessert. Fresh, colorful berries atop a creamy cheesecake filling and chocolate crust make a show stopping dessert that’s perfect for spring and summer!

No bake cheesecake tart is my favorite no bake desert! I know of only a handful of people who truly love to bake in the summertime. I mean, there are obvious recipes that require an oven, but I personally try to avoid those during the sweltering months of the year.
This is why this no-bake cheesecake is the perfect cheesecake to make. It requires zero baking and just a few minutes in the fridge to set, which makes it the perfect dessert to make when you’re short on time.
I’m drooling just thinking about this recipe! A Summer Berry No-Bake Cheesecake Tart is everything I dream of this time of year. This combines some of my favorites: fresh berries, creamy cheesecake, a perfect tart shape, and no baking!.
What’s the difference between baked and no-bake cheesecake?
Quite a bit, actually.
Baked cheesecakes are much thicker in texture and require eggs to stabilize the cream cheese when baked. The cheesecake is baked in a water bath and then chilled in the fridge.
No-bake cheesecakes use whipped topping instead of egg to stabilize the cream cheese, which makes it light and airy (similar to mousse). I think of it more of a whipped filling that has a tangy bite from the cream cheese.
Can no-bake cheesecake be frozen?
Without the fruit topping, a no-bake cheesecake can be frozen for up to 3 months. After it sets in the refrigerator, wrap the whole pan (removing the sides if desired) in plastic wrap and then wrap again, but with aluminum foil.
How to make no-bake cheesecake in a jar:
This is probably my favorite way to gift no-bake cheesecake. Friends and neighbors don’t expect such a bright sweet treat!
Starting with a clean mason jar, add the cookie crumbs to the bottom of the jar. Use the back of a spoon to press down, if desired.
Next, add the cream cheese filling to the jar until it is approximately two-thirds full and then top with fresh fruit!
Here’s how to make the best no-bake cheesecake:
All good tarts (and cheesecakes for that fact) start with a perfect crust, right?
Regular tarts are generally made with a pastry crust; however, this is a no-bake cheesecake tart, and I’m not turning on the oven, so a cookie base is perfect for this dessert! I love an Oreo cookie base, but feel free to experiment with Biscoff cookies or graham crackers.
Before you get carried away making the crust, make sure you set the cream cheese on the counter. It will need some time to soften, which helps to create the smooth filling.
While we’re talking about cream cheese, I recommend using full-fat cream cheese. Reduced-fat cream cheese may not produce the same results.
Back to the crust!
How To Make No-Bake Crust:
In a food processor, pulse the cookies and pecans until they are a fine crumb. You don’t want any chunks in your crust. You have two options here. One, you can pour the crumbs into a mixing bowl and add the melted butter, or two, you can continue to pulse the food processor while slowly adding the melted butter.

It may look like there’s not enough butter, but don’t add more! As you continue to mix the butter with the crumbs, all the crumbs will be nicely coated with butter and it will hold together in the pan.
Speaking of pans, you need a springform tart pan! This is my favorite one! I love the look that the scalloped edges make.
A springform pan is one item I think everyone needs in their house. Removing tarts, cheesecakes, other desserts, and quiche is a cinch because of the unique design of the springform pan. Check it out below!

Pat the crumbs down on the bottom and up the sides of the pan by using the bottom of a measuring cup. Chill the crust in the refrigerator while you make the velvety smooth filling.
In my opinion, fillings will either make or break a dessert. This is a fail-proof no-bake cheesecake filling and it does not disappoint! My boys always love to help in the kitchen and with just filling 4 ingredients, they each get a turn adding ingredients to the mixer!
After the filling has been mixed and is well-combined, pour the filling on top of the crust.
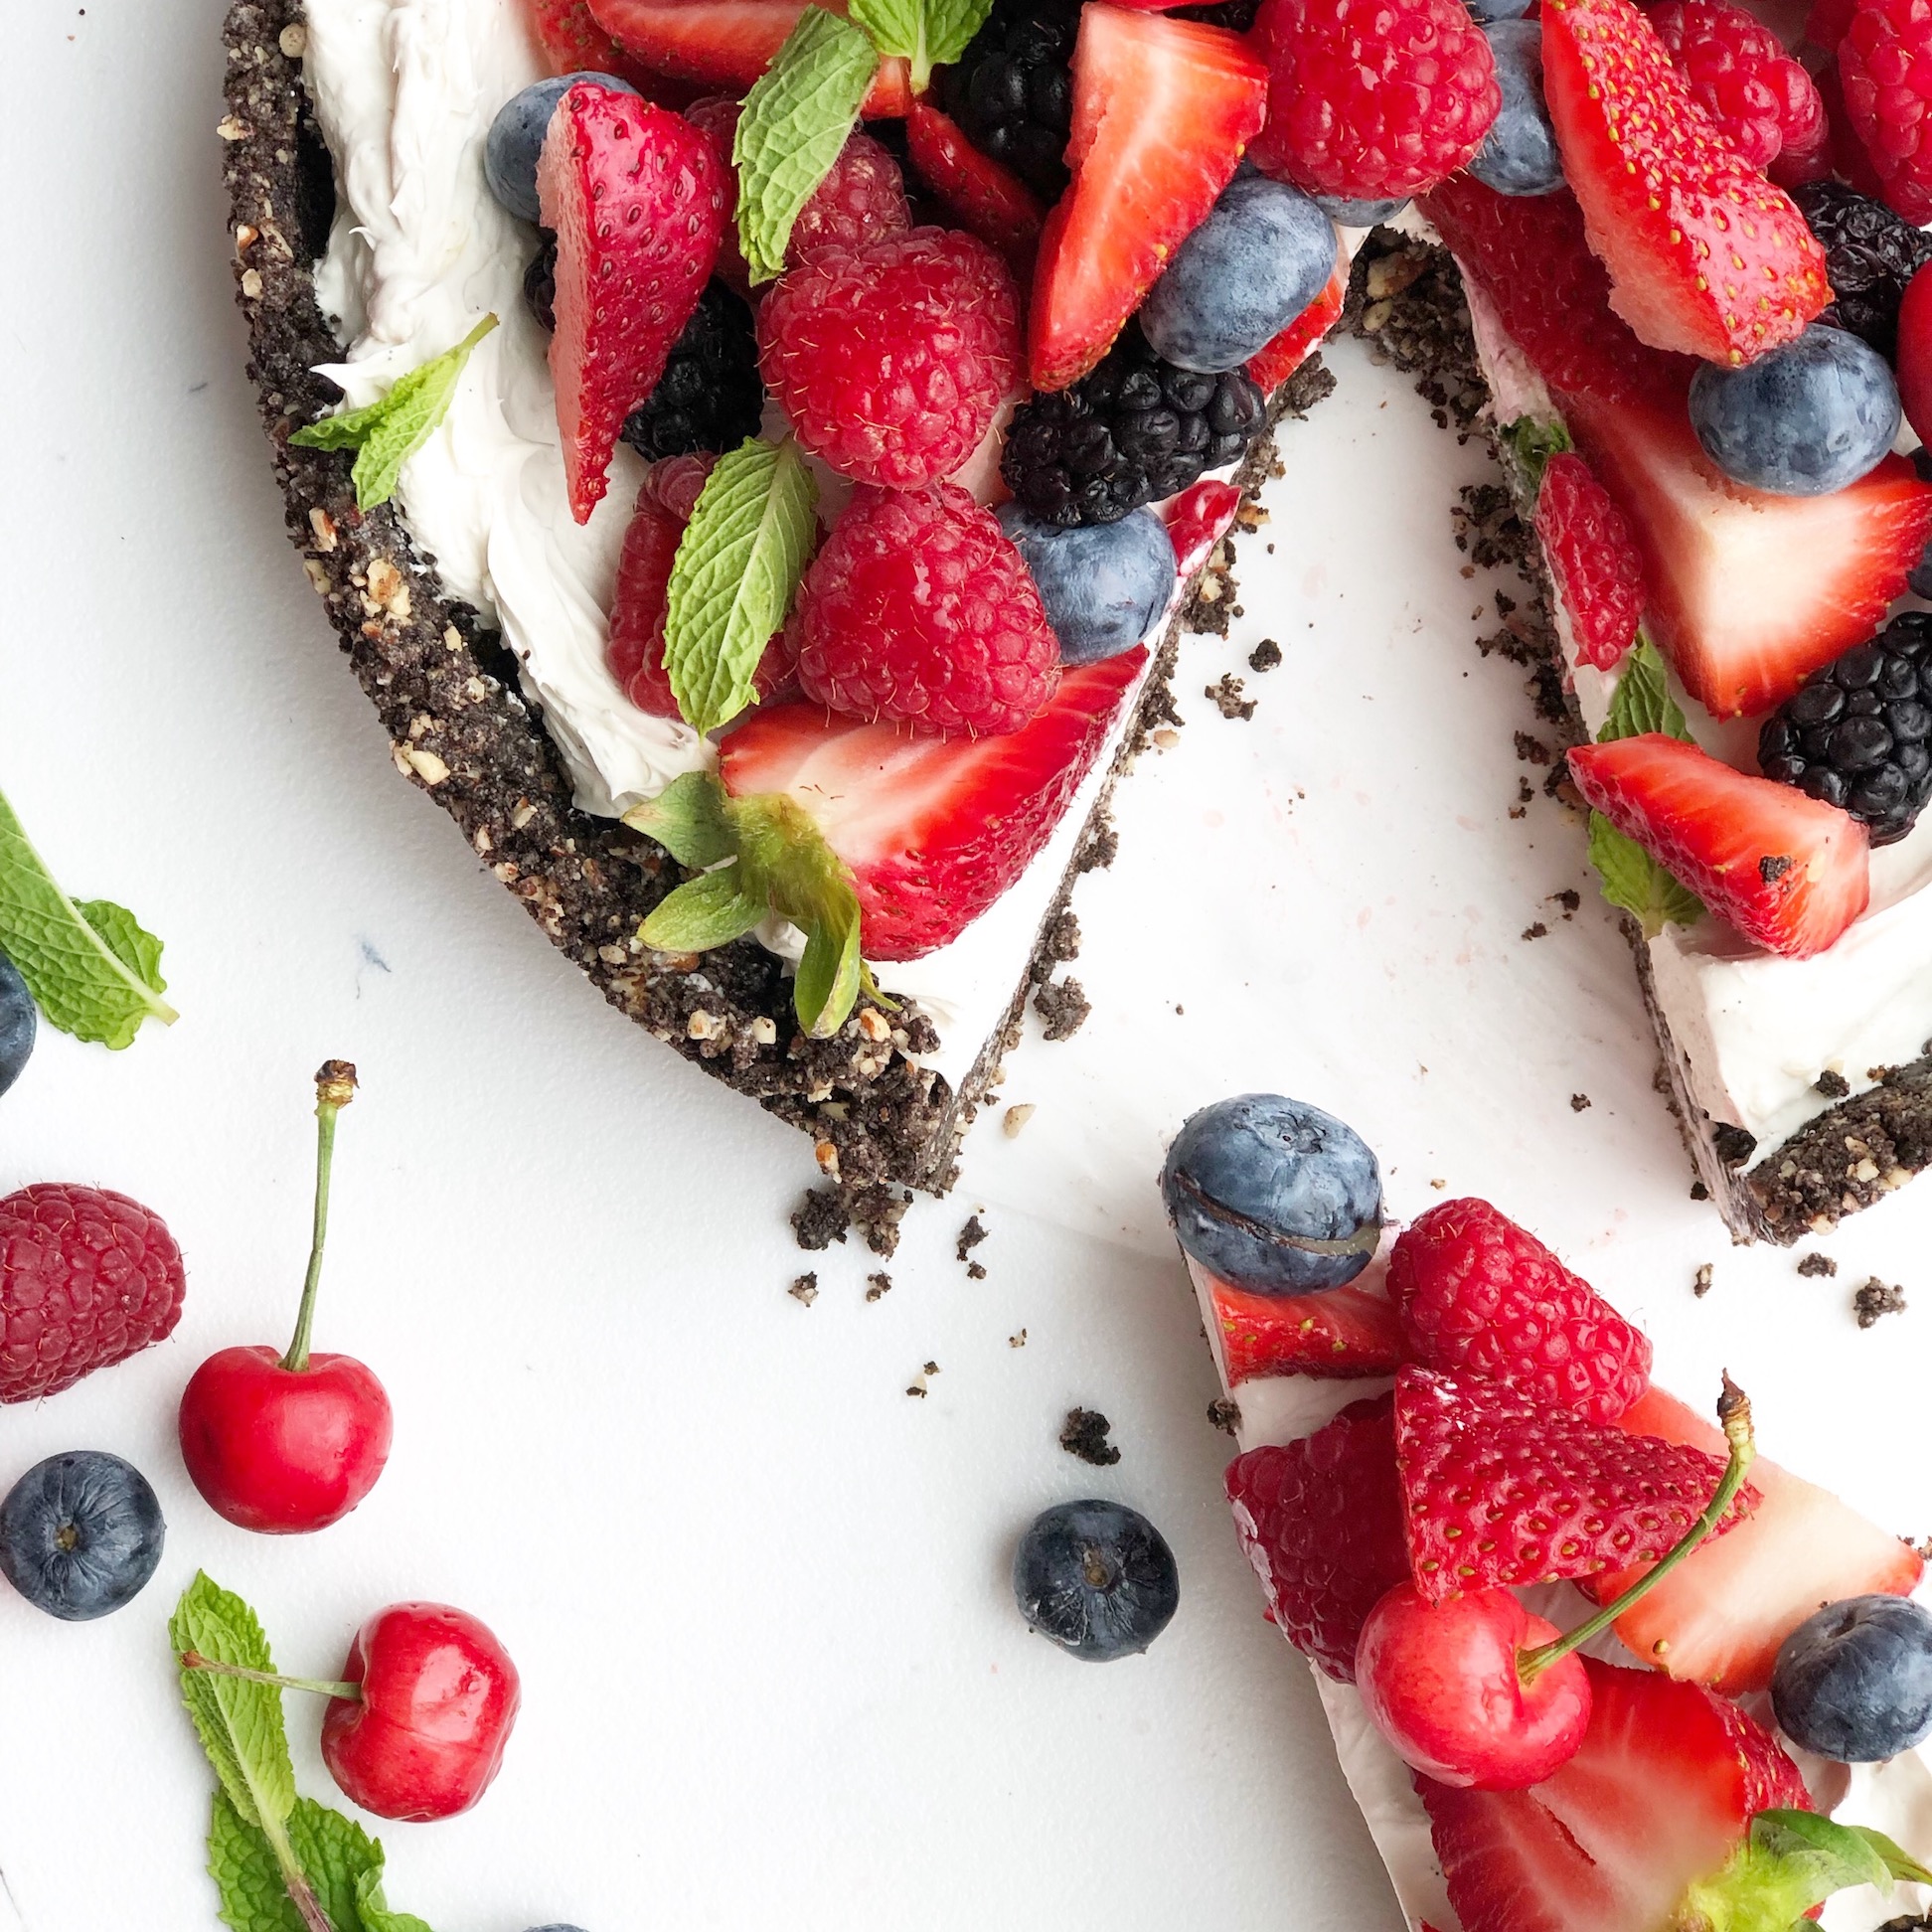
You could serve this as it, but then it would be a no-bake cheesecake tart – sans summer berries. So, decorate the cheesecake tart with your favorite in-season fruit and enjoy!

Looking for more easy, delicious desserts? Try Mini Lemon Meringue Pies or this Chocolate Fruit Tart.
No Bake Cheesecake Tart:
[jumprope code=”10oUwUGq3″ products=”top” displayformat=”blog-post” structureddata=”false”]No Bake Cheesecake Tart With Summer Berries Recipe:

No-Bake Cheesecake Tart With Berries
Rich cheesecake, without the hassle or time of baking it, topped with fresh summer berries in a chocolaty crust is going to be one of your new favorite desserts!
Ingredients
- 1 (6 ounce) Bag Chopped Pecans
- 1 (14.3 ounce) Bag Oreo Cookie Sandwiches
- ½ Cup Unsalted Butter, Melted
- 1 (8 ounce) Block Cream Cheese, Room Temperature for 30 Minutes
- ¼ Cup Powdered Sugar
- 1 Teaspoon Vanilla Extract or Vanilla Bean Paste
- 1 (9 ounce) Container Whipped Topping
Toppings:
- 6 Ounces of Raspberries
- 6 Ounces of Blueberries
- 3 Ounces of Boysenberries
- ¼ Cup of Cherries
- ½ Cup of Strawberries, Sliced
- 4-5 Sprigs of Mint
Instructions
- Place the pecans into a mini food processor. Pulse 10 times until pecans are finely chopped.
- Place the Oreos in the food processor. Pulse until the Oreos are crumbs.
- Combine the pecans and Oreos into a small mixing bowl.
- Add the melted butter and stir to combine.
- Add the oreo crumb mixture to a tart pan and spread out evenly.
- Place a layer of saran wrap on top of the tart crumbs. Press the crumbs up the sides and into the pan with the bottom of a glass cup. Refrigerate.
- Using the whisk attachment of a stand mixer, whip the cream cheese and whipped topping together for 2 minutes until well-combined (a hand mixer can also be used). Mix in the powdered sugar and vanilla.
- Spread the filling mixture on top of the crust to form an even layer.
- Add toppings and refrigerate until you are ready to serve.
Notes
Use any fruit that is fresh and in-season.
Recommended Products
As an Amazon Associate and member of other affiliate programs, I earn from qualifying purchases.

Nutrition Information:
Yield:
10Serving Size:
1Amount Per Serving: Calories: 539Total Fat: 48gSaturated Fat: 24gTrans Fat: 0gUnsaturated Fat: 19gCholesterol: 112mgSodium: 319mgCarbohydrates: 22gFiber: 4gSugar: 13gProtein: 8g
