Learn how to make a variety of yeastless bread recipes with this sourdough starter you can make in a week.
What is a Sourdough Starter & Why Make One?
Have you taken the Sourdough Starter challenge? It’s kind of like having a pet. You have to feed it regularly and give it a good living environment.
I even gave mine a name. Johnny #5. I’ve had many starters but sooner or later, they’ve all died off. I’ve persisted, though, learning as I tried again and again to get it right.
Now I’m here to share my knowledge and experience with you, so you can have a successful starter of your own in a week. But first, what is a starter?
Yeast is a microorganism that lives naturally on our food. (Like grapes) It converts carbohydrates to carbon dioxide and alcohols in a process known as fermentation. It’s what causes dough to rise!
A starter is part of a baking group called preferments. This is a pre-mixed dough that is allowed to ferment and is later added to a larger dough. It adds flavor, moisture, better crumb (texture), and is more shelf stable.
Not enough food or oxygen = No happy burps = Hard, dense bread.
Yeast is alive and needs food, water, warmth, and oxygen, just like you! A healthy starter will be bubbly and double (or more) in size when left at it’s favorite temperature (80-90°F). It will also have a strong vinegar or beer smell.
From now on, I want you to think about your starter in the following way:
Yeast = your new pet. It’s alive!
Flour = food.
Water & Temperature = home or environment.
Bubbles = happy burps.
Imagine your little pet is using the food and oxygen you provide to eat, and then expels carbon dioxide, “happy burps”, causing bubbles. These bubbles are what create the little air pockets in your dough, causing it to rise.
Let’s Get Started!
There are many starter recipes out there, but this is one that finally stuck for me for whatever reason. I suggest using bread flour or all-purpose flour. Whole Wheat flour is also an option, but know that it will require extra water and you will have a stronger “sour” flavor to your starter.
It’s better to weigh ingredients with a scale (like this one) because it is more accurate and makes this process more simple, but I’ve included the volume measurements in case you don’t have a scale.
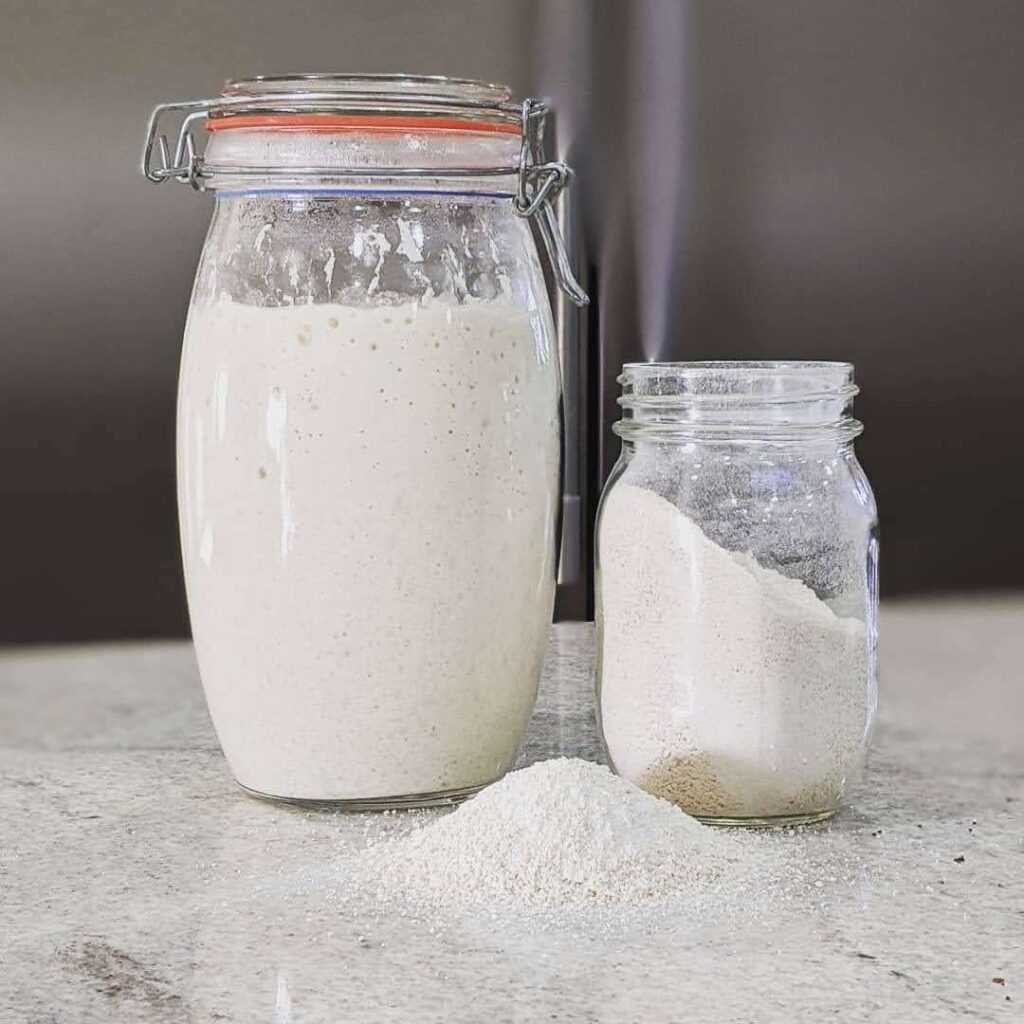
Day 1 – Mix 4 ounces of flour (1¼ cup) and 4 ounces of water (½ cup).
Put in a quart container. Use glass or stainless steel as plastic can absorb odors. There is naturally occurring yeast already in your flour, so let’s get them to grow!
Day 2 – No feeding today.
Give it a good stir to incorporate oxygen and redistribute the food. Cover and let sit at room temp for 18-24 hours.
Day 3 – Weigh 4 oz. starter (heaping ⅓ cup) and discard the rest. Add 4 oz. flour (1¼ cup) and 4 oz. (½ cup) warm water. Cover and let sit at room temp for 18-24 hours.
Day 4- Different ratios today so the starter can take off! Keep 6 oz. starter (⅔ cup) and discard the rest. Add 3 oz flour (⅔ cup) & 3 oz. warm water (⅓ cup). Cover and let sit at room temp for 18-24 hours.
Day 5- You should have a good colony of yeast by now, so we are going to throw it a feast with plenty of food. Keep 3 oz starter (⅓ cup) & dehydrate the rest. Add 6 oz. warm water (⅔ cup) & 9 oz flour (2 cups). Mixture will be thick. Cover and let sit at room temp for 18-24 hours.
Day 6- If you have a bubbly starter, you can start using it today! If it still feels sluggish, like it’s not growing in volume after 24 hours at room temperature, then continue to feed for the next day or two, keeping it at room temperature.
From now on, use a ratio of 1 part starter:1 part water:1 part flour, keep at least 4 oz starter (heaping ⅓ cup). After baking, weigh what’s left and add the same amount of water and flour.
For example, my recipe calls for 1 cup of sourdough. I pour out the 1 cup and make my recipe as directed. I weigh what is left and there is 7 ounces of starter. This means I will add 7 ounces of water and 7 ounces of flour. If you don’t want to end up with that much starter, you can discard more before feeding, but keep at least 4 oz.
How to Maintain Your Starter:
Congratulations! You have yourself an established starter. If you plan to bake every day, you can leave it on the counter and discard/use the starter every day. Feed with the 1:1:1 ratio after you remove what you need to use in your recipe.
If baking once every 7-10 days is more your speed, put it in the fridge! There are different approaches out there on how to do this, but my preferred method is to put my starter directly in the fridge right after feeding. The cold slows down the “eating” process, like slow motion.
When I want to use it, I pull it out of the fridge and let it warm up to room temp for at least 4-5 hours. (or the night before). It will begin to rise noticeably and then you are ready to make your recipe.
Here is a list of my favorite go-to Sourdough Recipes
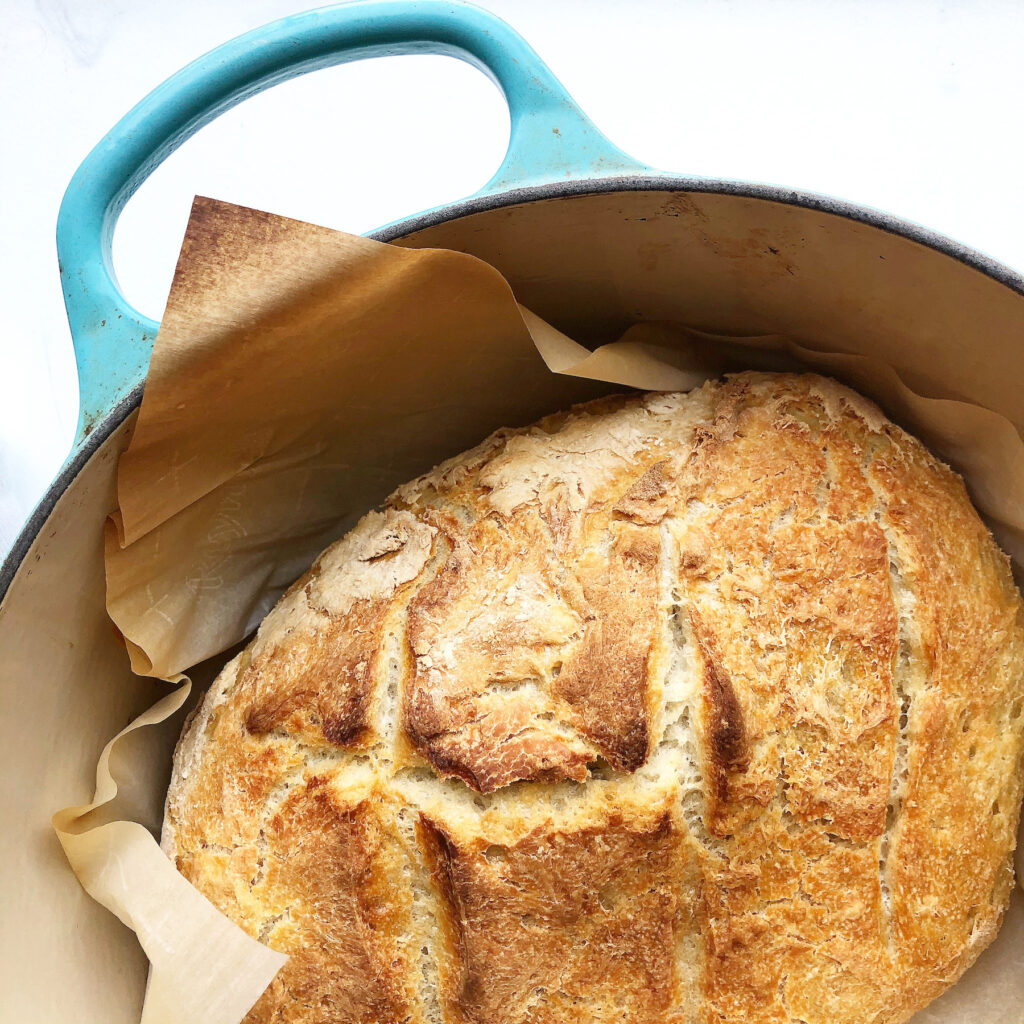
Naturally Leavened Sourdough Bread
Sourdough Pancakes – No rising time! Perfect for discard
Sandwich Bread – Uses starter and yeast
Let me know what you’re making with your sourdough starter!