My homemade syrup recipes are easy to make and add a special touch to any pancake or waffle!
I recently catered a waffle bar that was a huge hit. I like to think the reason it was such a hit is because of my homemade syrup recipes. Betcha didn’t know that making homemade syrup is really quite simple and healthy.
I had better explain what “healthy” means to me when I’m talking about syrup. Homemade syrup may still have tons of sugar in it, but I can actually pronounce all the ingredients in the recipe!
Do you know that I love making homemade syrups for breakfasts, brunches, and to use as a topping on desserts. I make homemade syrup or two several times a month.
Today, I’m sharing the two most popular flavors from the recent brunch I catered. These are both easy to make and are delicious on pancakes, waffles, or crepes. But let’s first talk syrup basics.
Storing Homemade Syrups:
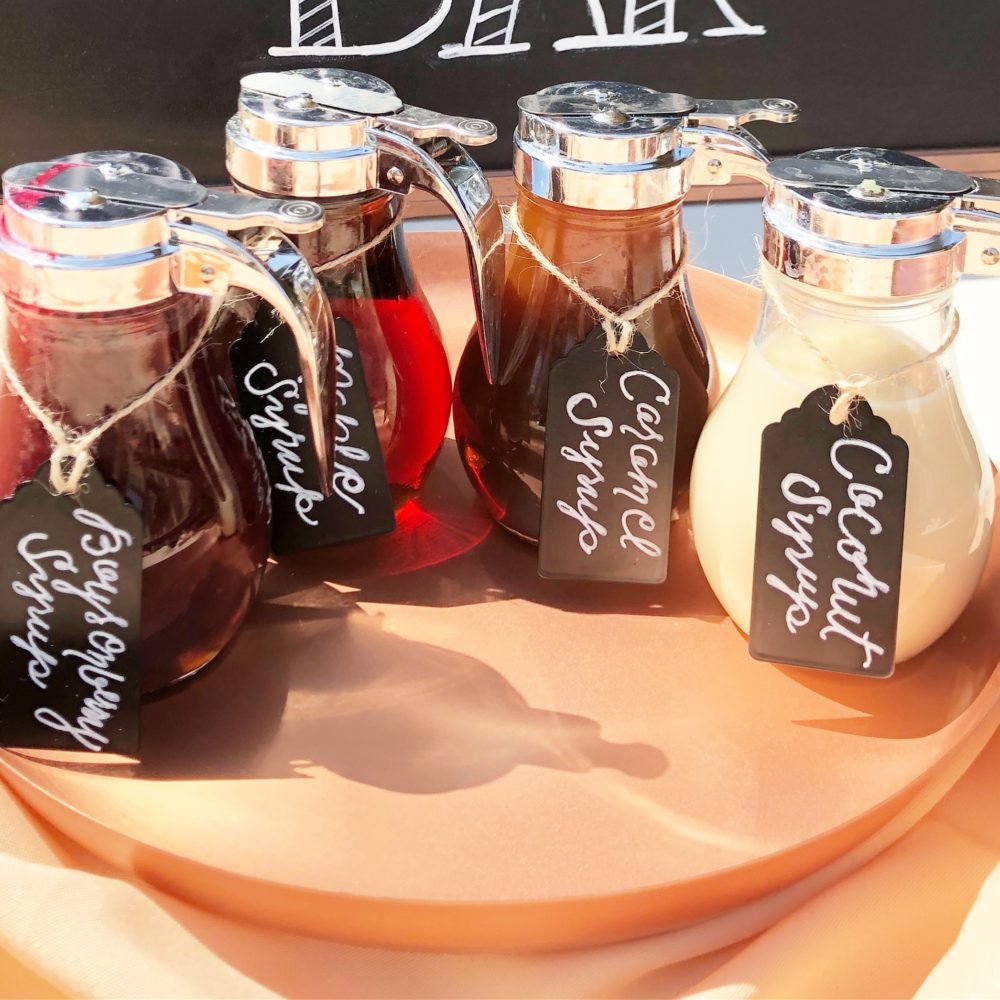
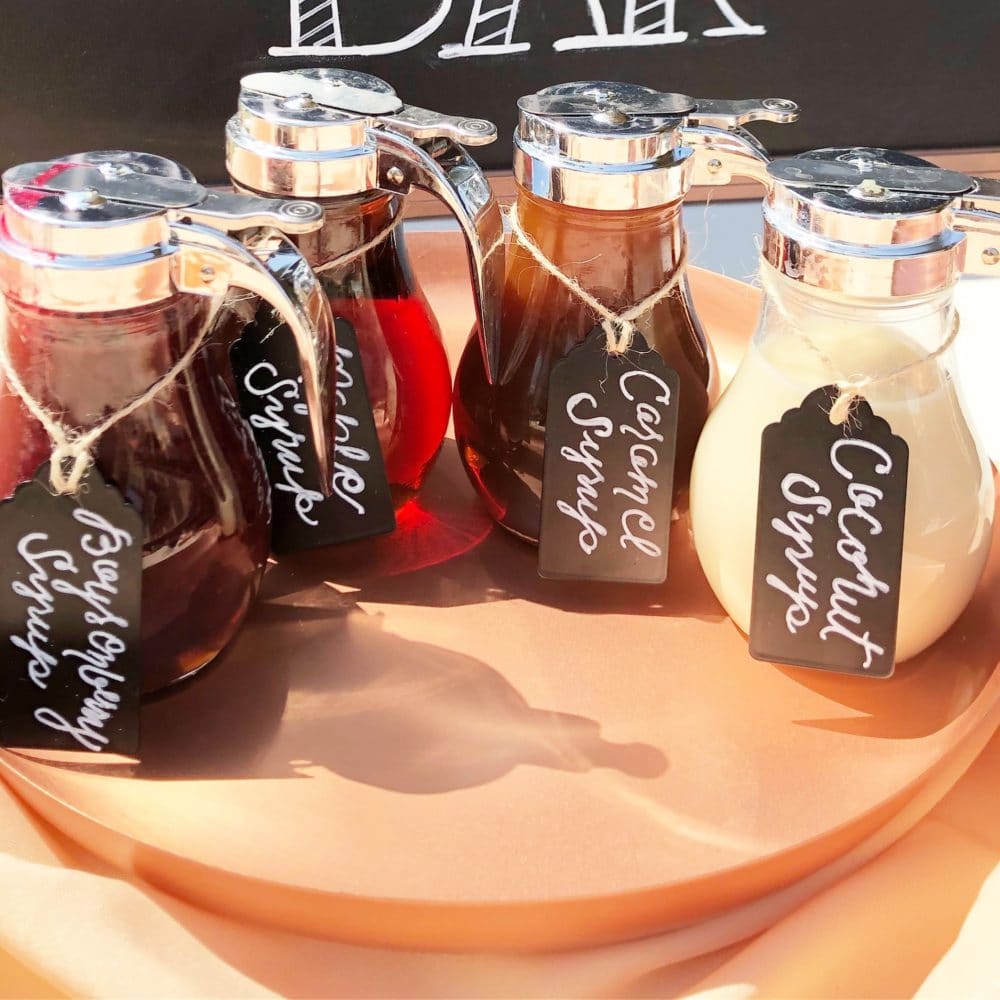
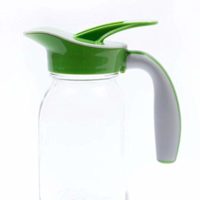
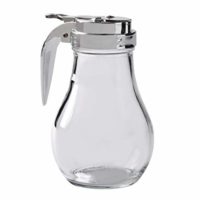
Storing homemade syrup is as simple as making it! Mason jars are just fine to store the syrups in, but I can’t get over how cute these syrup containers are!
They hold the perfect amount of syrup and have the cool lids that you might see at breakfast restaurants.
Coconut Syrup Recipe
This Coconut Syrup recipe is my absolute, number one favorite syrup recipe, so it only seemed fitting to showcase it first. This syrup is for coconut lovers and tropical getaway dreamers. Think of creamy, sweetened coconut, and you’ve hit the nail on the head!
The recipe originally came from a family member, but I didn’t receive a list of all the ingredients. So I set off on an adventure of recreating the coconut syrup recipe. After some, but mostly lots of trial and error, I was able to recreate it, and boy, is it delicious!

Homemade Coconut Syrup
A great syrup option for any pancake or waffle bar.
Ingredients
- 4 (14 ounce) Cans Sweetened Condensed Milk
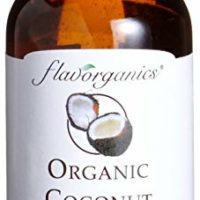
- 1 Tablespoon + 1 Teaspoon Pure Coconut Extract
- 1 Teaspoon Butter Extract
- Pinch of Salt
Instructions
- Place the ingredients in a small saucepan and heat on low until warmed through.
- Place the syrup in syrup containers or mason jars.
Notes
Keep refrigerated after use. Just reheat when ready to serve.
Recommended Products
As an Amazon Associate and member of other affiliate programs, I earn from qualifying purchases.
Boysenberry Syrup Recipe:
Second runner up in the homemade syrup category is the Boysenberry Syrup recipe. This is the perfect way to use up your abundance of boysenberries, and that’s exactly what we did! I swear our boysenberry bush produced triple the amount of berries this year compared to last year.
We had boysenberries in bowls all over my kitchen counter, and boysenberries on the floor. Thankfully they were contained to the kitchen and didn’t spread to the carpeted floors in our house!
There was seriously no way we were going to eat that many boysenberries before they spoiled, and I didn’t want to freeze too many. So, I came up with a boysenberry syrup recipe that is the perfect balance of sweet and tart.
Not a fan of boysenberries or simply don’t have access to a plethora of boysenberries? This recipe is so versatile that you can use any berry you can get your hands on! Strawberries and blueberries are great options and make delicious syrups.
I personally love adding citrus zest (think lemon, orange, or even lime) for an unexpected hint of flavor in the syrup.

Boysenberry Syrup
Easy syrup to dress up any pancake or waffle.
Ingredients
- 12 Ounces Boysenberries
- 1/2 Cup Boysenberry Jam
- 1/2 Cup Granulated Sugar
- 1 Cup Water
- 1 Teaspoon Orange Zest
- 1/4 Teaspoon Ground Cinnamon
Instructions
- Combine all of the ingredients in a small saucepan.
- Heat the mixture over medium-high heat, stirring occasionally, until the sugar has dissolved and the boysenberries have released their juices. This should take about 5-10 minutes.
- Reduce the heat to low and let the mixture simmer for an additional 10-15 minutes, or until it has thickened slightly and has a syrupy consistency.
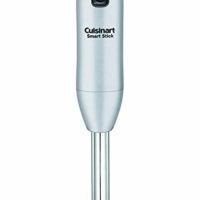
- Blend the mixture with an immersion blender or in a regular blender until smooth.
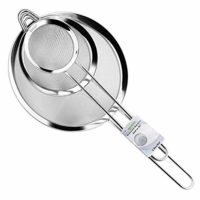
- Strain through a fine mesh strainer.
- Place in a mason jar or syrup container.
Notes
Use any type of fruit or jam for different flavor variations.
Recommended Products
As an Amazon Associate and member of other affiliate programs, I earn from qualifying purchases.
You definitely can’t go on without these homemade syrup recipes in your life! Okay, so maybe that’s an exaggeration, but seriously, these just elevate any sticky situation. Ha!
Are you team store-bought syrup? Or team homemade syrup? Tell me below in a comment!
xoxo,
Meg